Rigid Bodies and Constraints Workflow in Blender
.start
About
This post will outline my overall workflow for creating a simple rigid body w/ constraints system using Blender.
Workflow
My recent experiment/study was the Hinge constraint in Blender 3D.
I studied the documentation and sketched out my understanding of the constraint on paper.
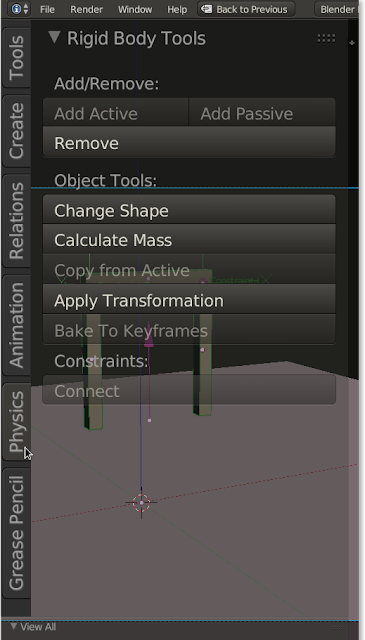
Initial Setup
Using
the Tools->Physics panel of the 3D View Editor automatically adds
the rigid body objects and constraints to the correct groups.
Groups
In the Outliner Editor, switch the mode to Groups. This enables one to quickly select the desired object for editing its properties. (also the selectability and visibility of RBD objects/constraints becomes easier)
Property Chart Add-on
Another indispensable tool is the Property Chart Add-on for quickly editing properties of selected and active objects in a spreadsheet like manner. (In Blender 2.67, I had actually contributed to the presets functionality for this Add-On)
In the User Preferences Window, enable the add-On

Once the Add-on is enabled, it will show up in the Properties panel window of 3D View. You can copy/paste the properties (by right clicking and copying the proeprty).
RBD Object Properties
Here you can see how I am able to edit the properties of the RBD objects very easily.
RBD Constraint Properties
Here you can see how I am able to edit the properties of the RBD constraint objects very easily.
So using this workflow, I was able to quickly setup my system and create a viewport render. Next week I will create another blog post that will cover the actual process of how I set up my RBD systems.
Following is my workspace for RBD simulations. I setup multiple cameras that are bound to Timeline markers so that I can further study the impact points of RBD objects.
Review and Analysis
In the Video Sequence Editor, I also setup the sequence strips for the various viewport renders and study my simulation and also render out the movies that I upload on Vimeo!.
Hope this was helpful to you. If you have any other suggestions, thoughts, please share it in the comment section below.
.end
satishgoda at live dot com
satishgoda at gmail dot com
About
This post will outline my overall workflow for creating a simple rigid body w/ constraints system using Blender.
Workflow
My recent experiment/study was the Hinge constraint in Blender 3D.
I studied the documentation and sketched out my understanding of the constraint on paper.
 |
| Pre-Visualization of Hinge Constraint Axes |
Initial Setup

Groups
In the Outliner Editor, switch the mode to Groups. This enables one to quickly select the desired object for editing its properties. (also the selectability and visibility of RBD objects/constraints becomes easier)
 |
| Using the Groups mode in Outliner Editor to edit RBD entity properties |
Another indispensable tool is the Property Chart Add-on for quickly editing properties of selected and active objects in a spreadsheet like manner. (In Blender 2.67, I had actually contributed to the presets functionality for this Add-On)
In the User Preferences Window, enable the add-On

Once the Add-on is enabled, it will show up in the Properties panel window of 3D View. You can copy/paste the properties (by right clicking and copying the proeprty).
RBD Object Properties
Here you can see how I am able to edit the properties of the RBD objects very easily.
 |
| Editing the RBD Objects properties using Property Chart Add-On |
RBD Constraint Properties
Here you can see how I am able to edit the properties of the RBD constraint objects very easily.
 |
| Editing the RBD Constraints properties using Property Chart Add-On |
So using this workflow, I was able to quickly setup my system and create a viewport render. Next week I will create another blog post that will cover the actual process of how I set up my RBD systems.
Following is my workspace for RBD simulations. I setup multiple cameras that are bound to Timeline markers so that I can further study the impact points of RBD objects.
 |
| Blender Screen Setup for Multi-Camera and RBD Simulation |
In the Video Sequence Editor, I also setup the sequence strips for the various viewport renders and study my simulation and also render out the movies that I upload on Vimeo!.
 |
| Using the Video Sequence Editor to review playblasts |
.end
satishgoda at live dot com
satishgoda at gmail dot com


amazing!!! Thank u so much for posting :)
ReplyDeleteThank you. I like that you linked to a smoothies website :D
Delete